

Monday to Friday: 9:00 a.m. – 7:00 p.m.
Saturday: 10:00 a.m. – 6:00 p.m.
Sunday: 12:00 p.m. – 5:00 p.m.


*Online ordering is only available at our St. John's location at present. To order at our Mount Pearl location please call 709-745-1140.

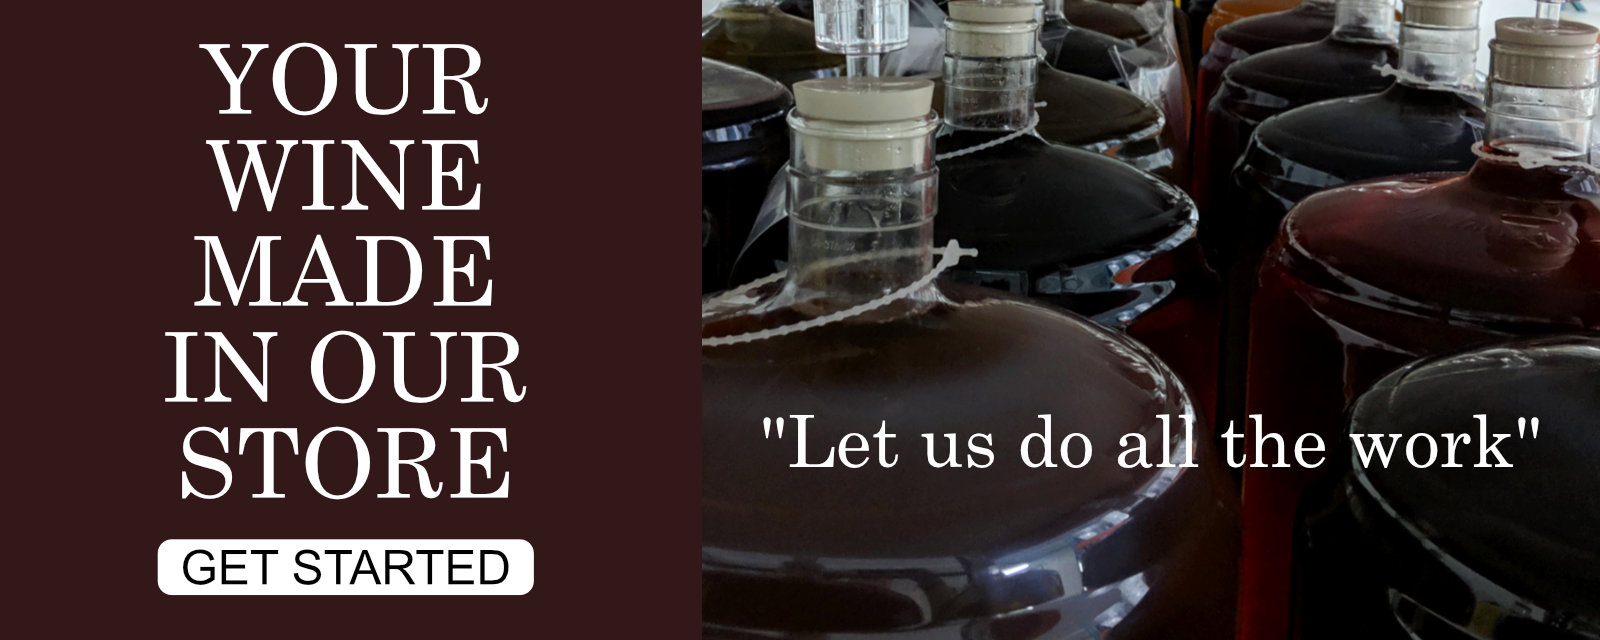
Imagine your private stock of wine made to your specifications. It's easier and more affordable than you think. At our Ferment-on-Premise facility we specialize in making wine in small 23 litre batches. We've been in the industry since 1993 and our professionals will use that expertise and knowledge to make sure you get the perfect wine!
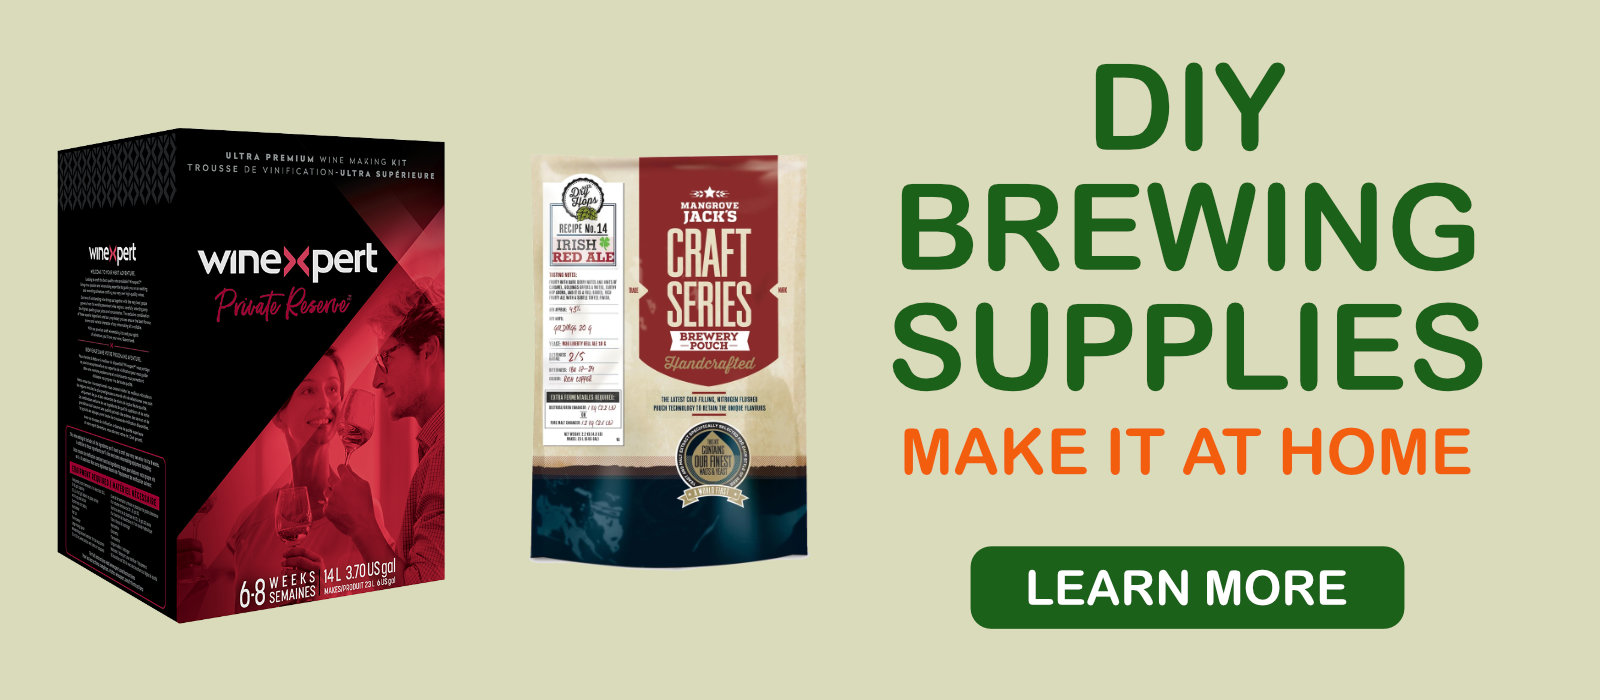
When home-brewers and winemakers are looking for the best experience they come to us. We've been serving the industry since 1993. Many of Newfoundland's professional craft brewers got their start by using our products and seeking our expert advice.